
Making a logo depends on how imaginative you can get and practice. Lots of it. Photoshop provides a vast array of tools to make a logo. It depends on you how creative you can get. Let me show you something simple. You will need to create a number of layers. You will be also be using Styles and Text, besides Gradients.
 Step 1 : Open a New White Layer.
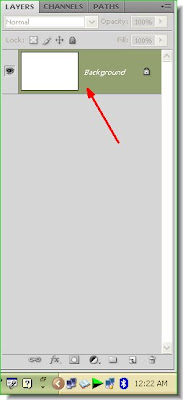
Look in the Layers pallette. You will find the White layer as the Background.
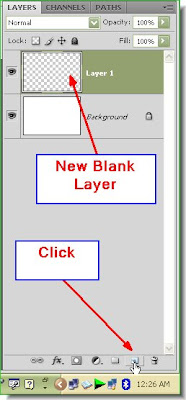 Step 2 : Click the Add New Layer button in the Layers pallette and a new blank layer forms above the Background layer.
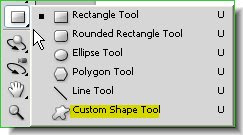 Step 3 : Now click the Custom Shape Tool from the flyout on the left panel. You can see where it is found.
 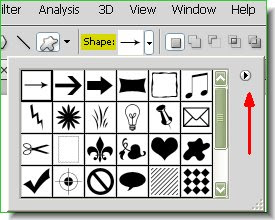 Step 4 : On the top panel click on the drop down from Shapes to reveal a dropdown menu of shapes. But these are not the only shapes found. There are many more hidden away. Now click the small black arrow the red arrow points to.
  Step 5 : Click the small black arrow and a dropdown menu appears listing the shapes available. I have clicked on Symbols.

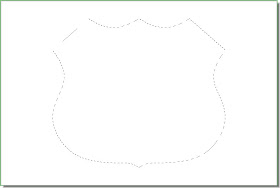
Step 6 : I have clicked on the Shield shape.
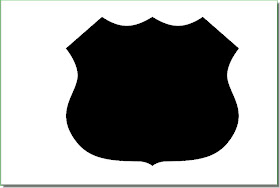 Step 7 : Drag out the shield shape across the white layer with the cursor. As soon as you let go of the cursor, the inside of the shape fills with Black.
This is how the Layers pallette looks.
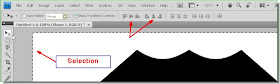 Step 8 : Press CTRL+A. A selection of 'running ants' appears all along the sides of the white layer. Click the Move Tool.
 The Move Tool.
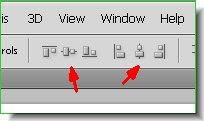 Click the two icons the red arrows points to.
Step 9 : As soon as you click the the icons (second and fifth) the shield shape moves to the exact middle of the white layer.
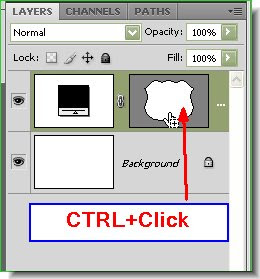 Step 10 : First click where the white hand points to. Then CTRL+Click.
 Step 11 : A column of 'marching ants' surrounds the black shield shape. Hit the Delete key and the black disappears while the selection of 'marching ants' remain.
Step 8 : Press CTRL+A. A selection of 'running ants' appears all along the sides of the white layer. Click the Move Tool.The Move Tool.Click the two icons the red arrows points to.Step 9 : As soon as you click the the icons (second and fifth) the shield shape moves to the exact middle of the white layer.
Step 10 : First click where the white hand points to. Then CTRL+Click.Step 11 : A column of 'marching ants' surrounds the black shield shape. Hit the Delete key and the black disappears while the selection of 'marching ants' remain.
Step 12 : As soon as you hit the delete key. Look in the Layers pallette. You will find that only the Background layer exists. Click the Add NewLayer button and a New Layer 1 forms above the Background layer. A new layer is being created to keep the shield shape on a new layer.
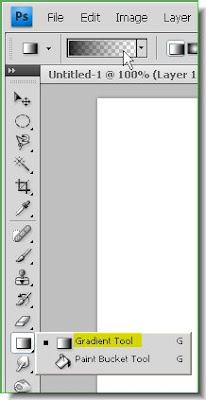 Step 13 : Click the Gradient Tool from the flyout. In the top panel click where the arrow points to. This will bring up the Gradient Editor.
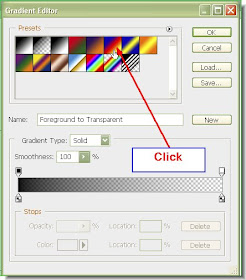
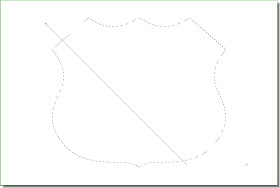
Step 15 : Now with the Gradient Tool draw in any direction. I have drawn diagonally. Drawing in a different direction gives another effect.

Step 16 : This is the effect I have got with the Gradient Tool. You will also get the same effect if you followed the steps I took. Press CTRL+D to deselect. The column of 'marching ants' disappear.
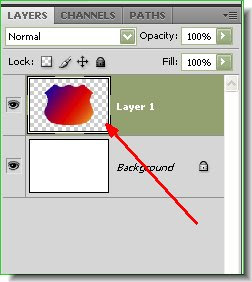 This is how the Layers pallette looks. You can see the shield shape with the Gradient applied in Layer 1.
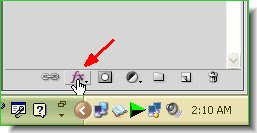 Step 17 : Click the Add Layer Style button in at the bottom of the Layers pallette. (It looks different in PS7, but is found in the same place).
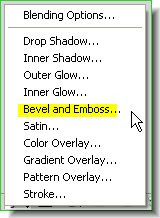 Step 18 : From the popup click on Bevel and Emboss.
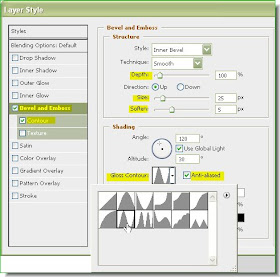 Step 19 : The Bevel and Emboss dialogue box opens. In the left pane you can see that 'Bevel and Emboss' is ticked. Also tick 'Contour'. I have set the Depth and Size and lastly Soften. I have chosen a particular Gloss Counter from the dropdown menu. You will be able to see the effect as you apply the settings one by one. Click ok when you are satisfied.
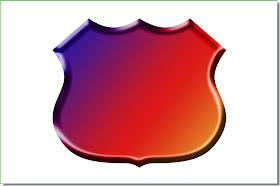 This is the effect I have got.
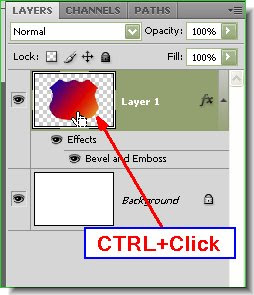 Step 20 : Click on the Layer thumbnail of Layer 1. As soon as your click a column of 'marching ants' will surround the Shield Shape.
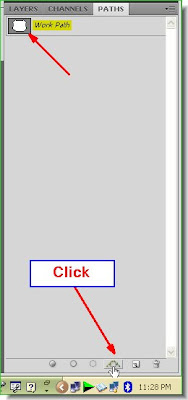 Step 21 : Now click on the Paths pallete. Click on the the icon at the bottom of Paths and a Work Path forms.
The next part of the tutorial is here.
Post a Comment
Post a Comment