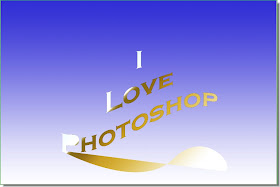
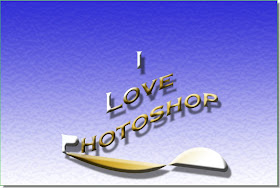
This was how the image looked like in the last step.

Step 51 : Click the Add Layer Style button as shown in the Layers palette.
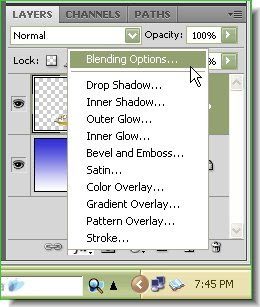
Step 52 : Click on the Blending Options from the popup.
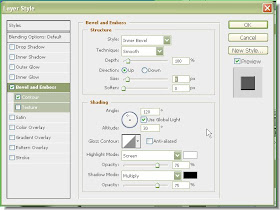
Step 53 : The Blending Options dialogue box opens. In the left panel check Bevel and Emboss and Contour.
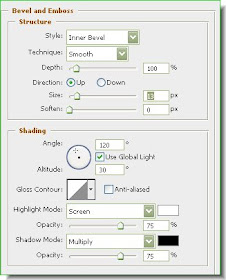
Step 54 : I have dragged the Size slider just a bit.
This is how my image looks with the Bevel and Emboss applied. Do not click ok in the Bevel and Emboss dialogue box.
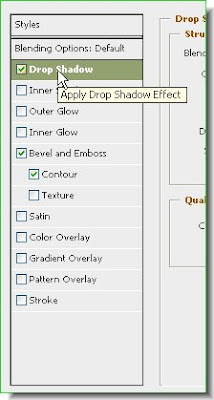
Step 55 : Now click on the Drop Shadow.
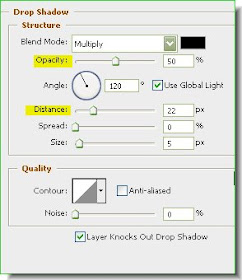
Step 56 : First drag the Distance slider and then reduce the Opacity to 50%. Now click ok.
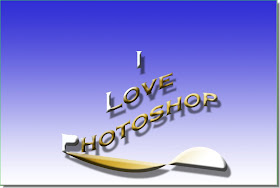
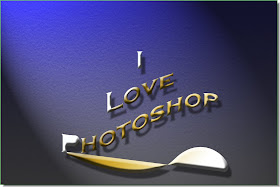
This is how the image looks with the Drop Shadow.
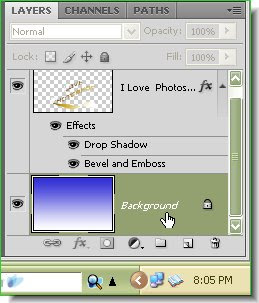
Step 57 : Click on the Background layer.
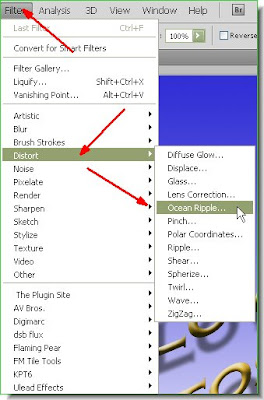
Step 58 : Go to Filter>Distort>Ocean Ripple.
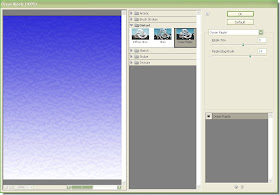
The Ocean Ripple Dialogue box opens.
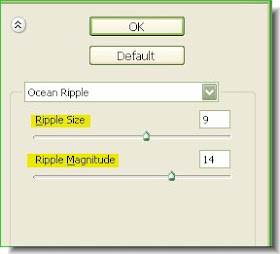
Step 59 : I have set the Ripple Size and Ripple magnitude as shown above.
This is how the Background Layer looks with Ocean Ripple applied. Press CTRL+F to apply the filter again.
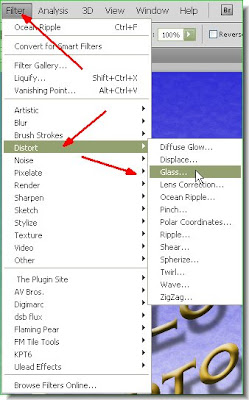
Step 60 : Go to Filter>Distort>Glass.
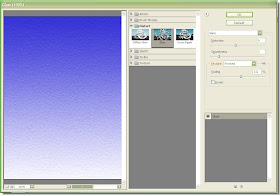
The Glass dialogue box opens.
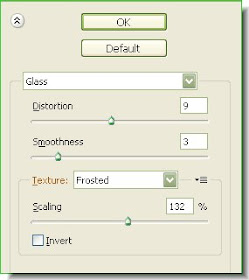
Step 61 : These are the settings I have applied to the Glass filter.

Step 62 : Press CTRL+F to reapply the Glass filter. This is how the image looks. Note that lights on the text is different from the light angle on the background. This has to be fixed.
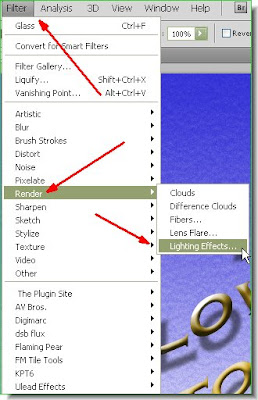
Step 63 : Go to Filter>Render>Lighting Effects.
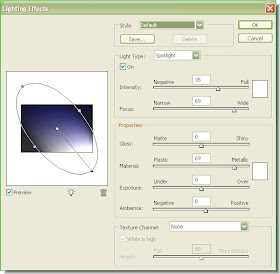
Step 64 : The Lighting dialogue box opens.
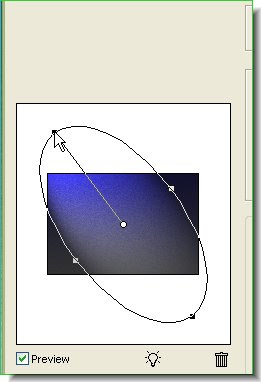
Step 65 : Change the angle of the light by dragging with the cursor.
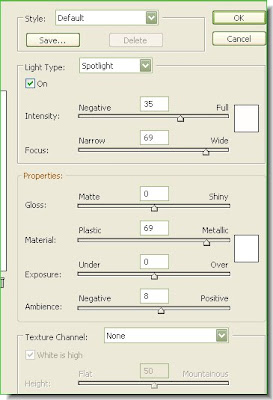
Step 66 : I am leaving the remaining settings undisturbed. Click ok.
The finished image. Not at all difficult. Just takes a bit of your time. That's all.

Post a Comment
Post a Comment