

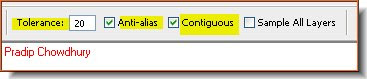
 Step 2 : In the top panel set the Tolerance at 20. Also check the Anti-alias and Contiguous. The default Tolerance is set at 50. You can even begin by setting a Tolerance of 10.
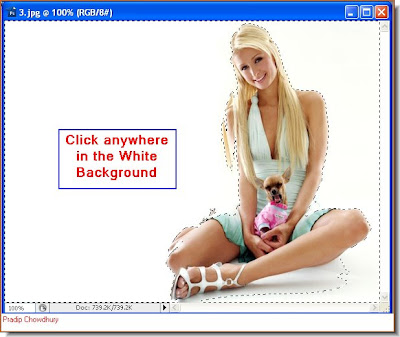 Step 3 : Click anywhere in the white background with the Magic Wand. You will immediately get a selection of 'marching ants.
 Step 4 : Hold SHIFT and click on the unselected parts. When you hold down shift you will find a tiny plus sign appear beside the Magic wand. Select the unselected areas.
 Step 5 : Press CTRL+SHIFT+I to inverse the selection. Now only the figure is selected by the 'marching ants'.
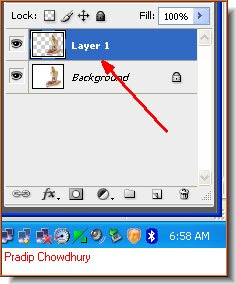 Step 6 : Press CTRL+J. The selection will be copied and pasted on a new Layer 1. Look at the Layers pallette
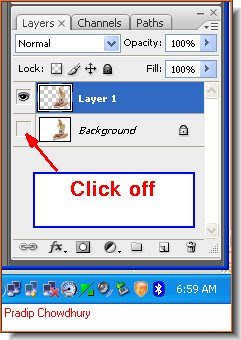 Step 7 : Click off the eye icon in the Background layer.
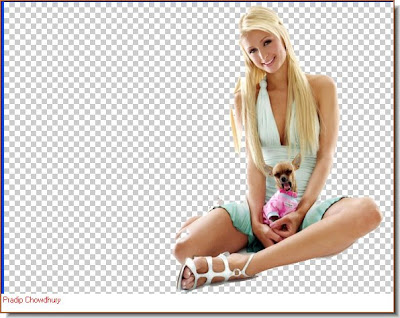

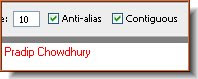
Step 9 : I am setting the Tolerance at 10. Step 10 : I have clicked once on the left of the image and a large portion is selected.
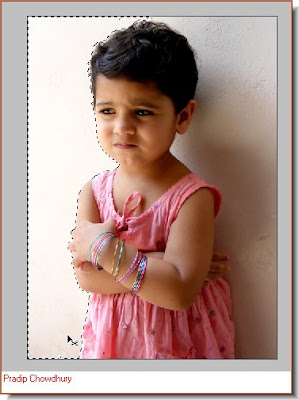

Step 12 : Keeping SHIFT pressed keep clicking while changing the Tolerance from 10 to 15 to 20. If select wrongly press CTRL+Z to undo the last step. Or to undo more steps go to Edit>Step Backward.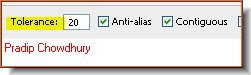
Step 13 : I am varying the Tolerance as I click in different portions to select. It will depend on your image.

Step 14 : The entire background has been selected.

Step 15 : Press CTRL+SHIFT+I to inverse the selection. Then press CTRL+J to copy and paste the selection to a new layer. Lastly turn of the eye icon in the Background layer as earlier shown in Steps 5 and 6. The background will be deleted.
Step 16 : Open a new white layer and drag it on top with the Move Tool.

Step 17 : Press CTRL+SHIFT+[ to send the white layer to the back.

Step 18 : Zoom into the image and you might notice that some minor spots have remained behind.

Step 19 : Click on the erazer Tool. You should also make the tip soft. To do that hold SHIFT and press the [ (left bracket a number of times). Alternately to make the tip hard press SHIFT and ] (right bracket) Step 20 : You are on the white layer (Layer 2). Therefore click back to Layer 1.
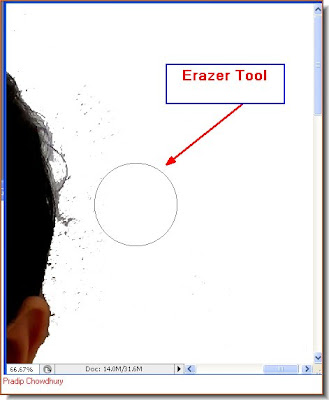

 Step 23 : You can even put a new background to the image. Note that when you do so, the edges especially near the hair appear light. That has to be fixed.
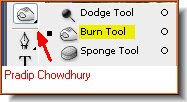 Step 24 : Click on the Burn Tool.
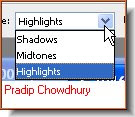 Step 25 : in the top panel click on Highlights from the dropdown.
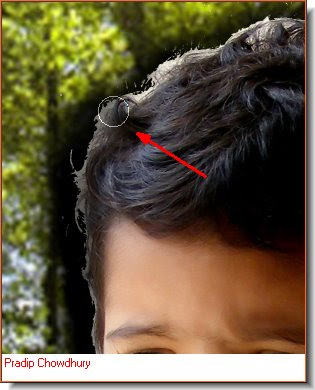


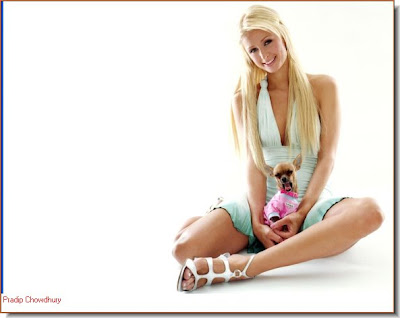
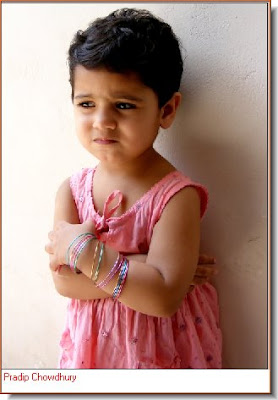
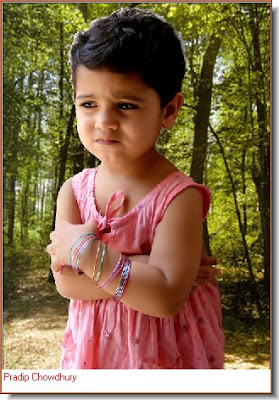
The little girl is now on a different background. That is all.
Post a Comment