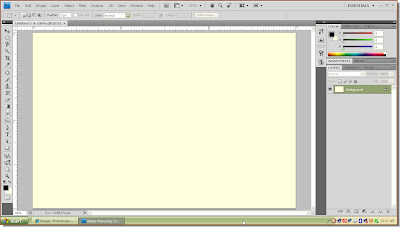
 Step 1 : Open a blank new layer or you can also open any image.
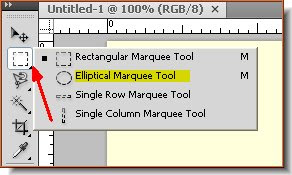
 Step 3 : Draw out a circle. Hold down SHIFT while dragging out a circle. It will form a perfect circle.

Step 4 : Now click on the Paths pallete to open it. Click on the Make Workpath from Selection button shown by the arrow.
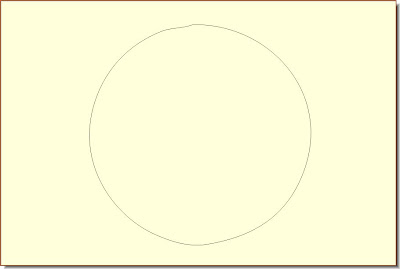
Step 5 : The circle has changes into a Path as soon as you click the make Workpath from selection button.

Step 6 : Click on the Type Tool

Step 7 : Now set the Font from the dropdown where the first arrow points to, the point (size) of the fonts (second arrow) and alignment (third arrow).
Step 8 : Now type out your Text. If you type a long string of text, the end portion will not be visible. The Text I have typed in is 'Making a Workpath'. Step 9 : Now place your cursor on the text that you have typed.
 Step 10 : In the top panel change the size of the font in the top panel and keep it highlighted as I have done.
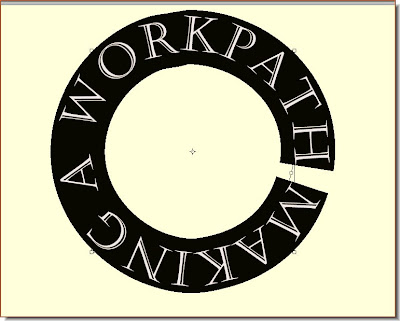
Step 12 : Now use the down arrow key to stretch the letters till the y fit the circle.
Step 13 : Now click the check mark on the top left of the panel to commit the text.
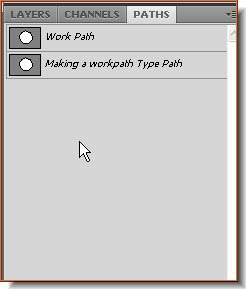
Step 14 : In The Paths pallette click on the empty portion where the arrow points to. The Path will disappear from the text.
The Text on Path. Note that the Path has disappeared. Only the Text remains. The second part of the tutorial is here.

Post a Comment