
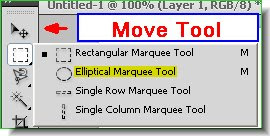
 Step 3 : Click the Elliptical Marquee T00l It is found just below the Move Tool.
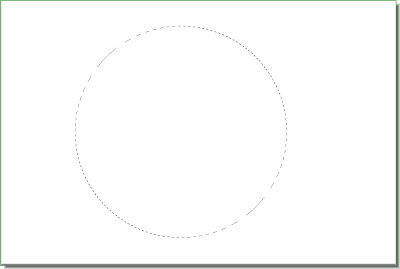 Step 4 : Keeping Shift pressed draw out a circular selection. It will be a perfect circle.
 Step 5 : Make sure the Foreground is set to Black and Background to White. If not press 'x' and then 'd'.
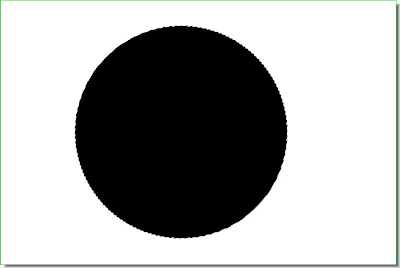
Step 6 : Press Alt+Shift and the circular selection fills with the Foreground Color, which in this case is Black.

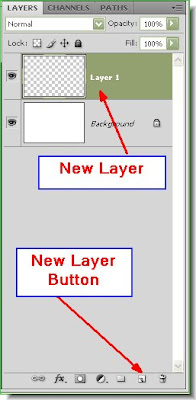
This is how the Layers pallete looks.
 Step 7 : Click the Add Layer Style button. In PS7 the button looks different, but is found in the same place.
 Step 8 : From the popup menu click on Bevel and Emboss.
Step 9 : In the Bevel and Emboss dialogue box check 'Contour' under Bevel and Emboss. Check Anti-Alias and click on the Ring Double Gloss Counter. It is the one shown by the small white hand. Do not click ok.

Step 10 : Now click on Gradient Overlay. Click exactly where the white arrow points to. You will find the controls at right will change to Gradient Overlay.

Step 11 : Click where the arrow points to.

Step 12 : It will bring up the Gradient Editor. Note the Black and White stops at the bottom.

Step 13 : Now press Alt and click on the Black stop. Then drag. You will find the Black stops duplicates. Move the duplicate Black Stop to the right. Now duplicate the White Stop and move it to the left. Duolicate both Black and White stops a number of times and move them top the right and left as shown here.

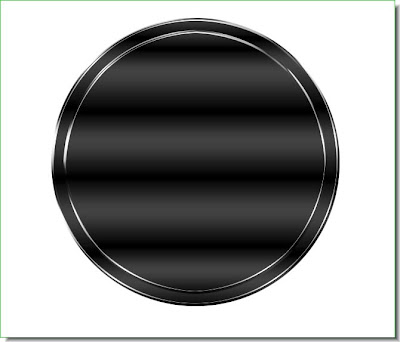
Step 14 : After clicking ok this is how the button looks.
This is how the Layers pallete looks.
 Step 15 : Again click the New Layer button and a new layer 2 forms.
 Step 16 : Press ALT+Backspace. This fills the selection with Black, the Foreground Color.
Step 17 : Go to Select>Modify>Contract.
Step 18 : When this dialogue box pops up, put 20 pixels. If you are using a low resolution White Layer you can put a lesser amount.
This is how the image looks.
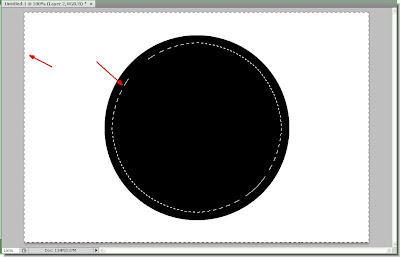 Step 19 : Now press CTRL+Shift+I. This will inverse the selection. Hit delete. Press CTR+Shift+I again.
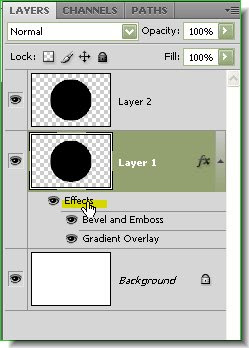 Step 20 : Click on Layer1 and right click on Effects.
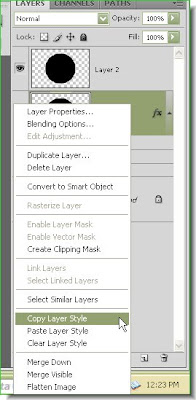 Step 21 : From the menu click on Copy Layer Style.
 Step 22 : Click back on Layer 2.
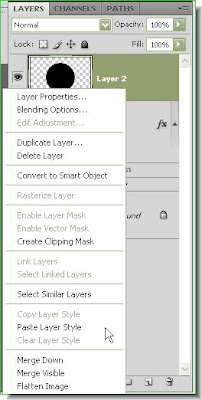

Step 24 : This how the button looks.
 Step 25 : Press CTRL+D. This will get rid of the selection.
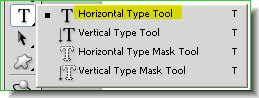 Step 26 : Now to add some text. Click the Hontal Type Tool from the flyout.
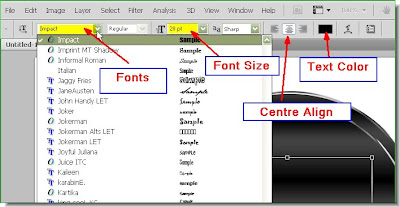 Step 27 : Access the Fonts, set the size of the fonts, click on Centre align and you have also to set the text color. By default it is Black.
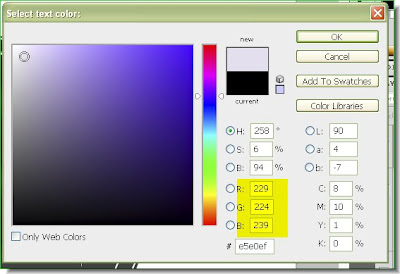 Step 28 : Click on the Text color brings up the Text Color dialogue box. To set the color to a light gray set the values for R G B as shown. Click ok.
Step 29 : Type out the Text. To commit the text click on any of the Tools on the left panel. A dialogue will come up asking where you want to apply. Click on Apply.

Step 30 : Click on the Layer below the text layer as shown. Click on the effects of Layer2. Right click the effect to copy the Layer Style.

Step 31 : Go back to the Text layer on top. Right click beside the layer thumnail and from the popup menu click on Paste Layer Style. The Layer Style will be pasted in the text layer.

And, the is the finished shiny metal button.
Post a Comment