


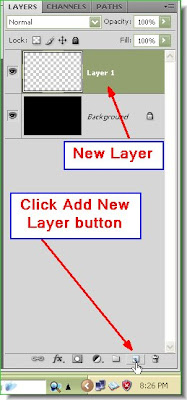
 Step 5 : Click the Add New Layer button and a New layer forms above the Background Layer.
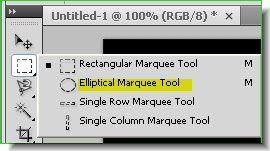 Step 6 : Click the elliptical Marquee Tool from the flyout. You can see where it is found on the left panel just below the Move Tool.

Step 8 : Press ALT+Backspace. This will fill the circle with Black. You cannot make it out because the Background is also Black. In the Layers pallette you will find that the circle has been filled with Black.

Step 9 : Click on the Move Tool.

Step 10 : Press CTRL+A. You will immediately find that a column of 'marching ants' surround the entire canvas.

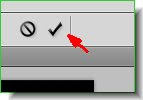
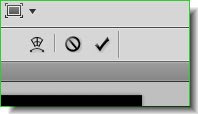
Step 11 : : Look at the top panel. You will find these six icons. Click the second and the fifth. This makes the circle of black move exactly to the centre of the canvas.
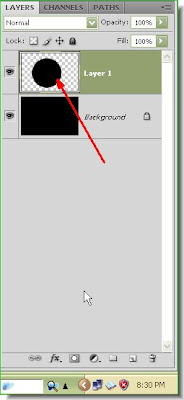
Though you cannot make it out on the canvas you can see that in Layer 1 the circle is in the middle. Now to make the Black circle visible.
 Step 12 : Click the Add Layer Style button. In PS7 it looks a bit different, but is found in the same place.
 Step 13 : As soon as you click, you will find this popup menu. Click on Blending options.
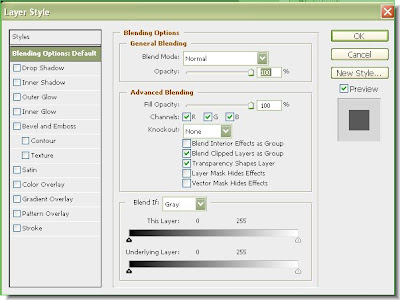
Step 14 : The Blending Options dialogue box opens. This enables you to add different options at one go. At the left are the options available.

Step 15 : Click on Outer Glow. Click exactly in the centre as the arrow shows. The interface of Blending Options changes to Outer Glow.

Step 16 : Drag the Spread and Size Sliders suitably until you are satisfied with the result. You can see the effect at left. Do not click ok.

Step 17 : Click on Inner Glow. Again exactly in the middle as shown. This will reveal the controls of Inner Glow.
 Step 18 : Drag the Size slider suitably.
 You can see the effect as you drag. Do not click ok.
 Step 19 : Now click on Bevel and emboss again exactly in the middle. Also tick 'Contour' which is just below it.
 Step 20 : Now in the controls in the middle of the dialogue box, change the Technique to Chisel Hard.
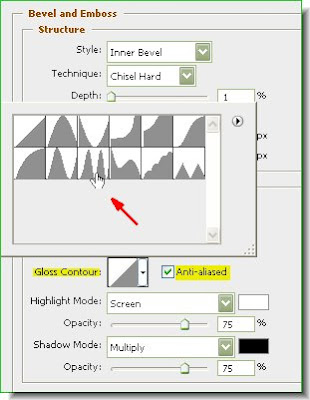


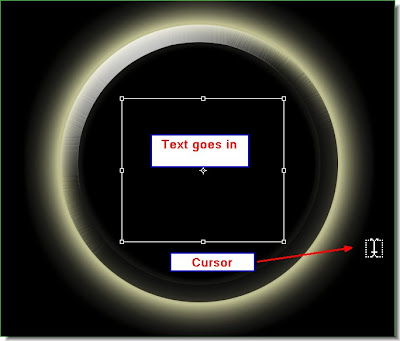
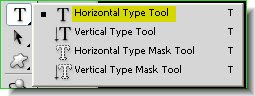 Step 24 : Now click on the Type Tool on the left panel and click on the Horizontal Type Tool from the flyout.
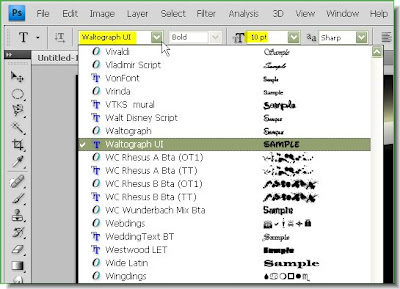 Step 25 : On the top panel click to reveal the Fonts available. Just next to it set the Font size. Just eneter a value in the box to set the Font size. Select Font by clicking on it. In Ps7, though you can see the different fonts, you cannot see what they look like. In CS the advantage you can see how the fonts look like at the right.
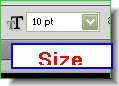

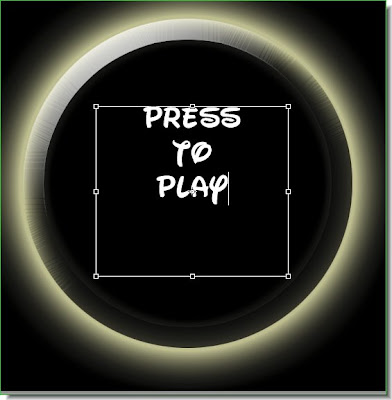
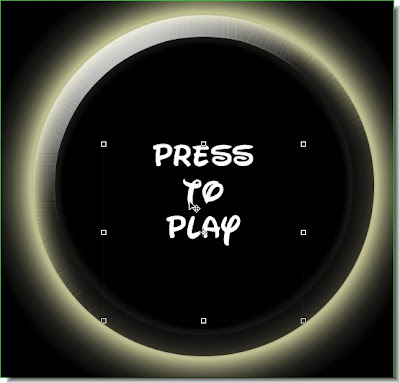


 This is how the button looks.
 This is how the Layer pallete looks. The Text is on its own layer at the top. A text
layer is always in its own layer. Step 35 : Click the Add Layer Styles button and click on Bevel and Emboss.
 Step 36 : Check the Contour. The Bevel and Emboss will already be checked in the Bevel and Emboss dialogue box.
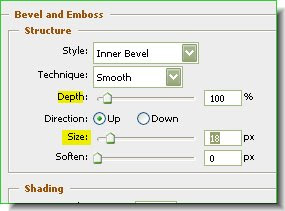

 Step 38 : Click on the Background. Then click the Add New Layer button. A new blank layer forms above the Background -- Layer 3.
 Step 39 : The Foreground is still set at White and Background at Black from the last setting.
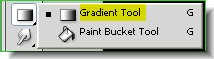


 Step 42 : Go to Filter>Noise>add Noise.
 Step 43 : The Add Noise dialogue box opens. check Monochromatic. Click Gaussian. Now set the amount suitably. I have set 20%. It will depend on your image. Click ok.
 Step 44 : Go to Filter>Render>Lighting Effects.
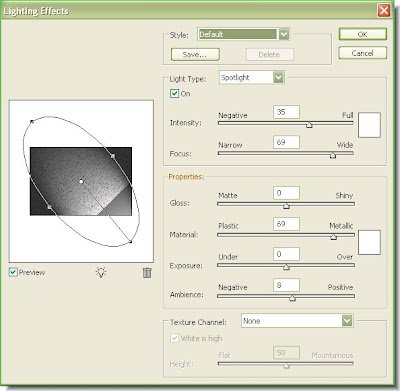
Step 45 : The Lighting Effects dialogue box opens. I am not changing any of the settings, but just clicking ok.

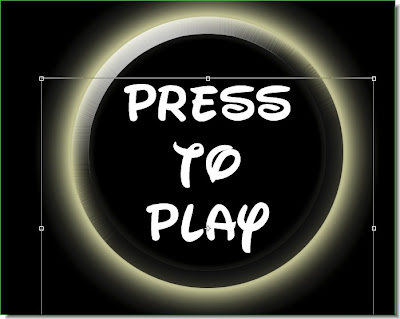
The finished image.
Post a Comment