
The Liquify Filter in Photoshop is a great tool to alter an image, especially the human figure. You can do cosmetic surgery digitally in reducing or increasing weight or making a figure more curvy. Let's do it hands on. I will show you the controls and then you can try them for yourselves.
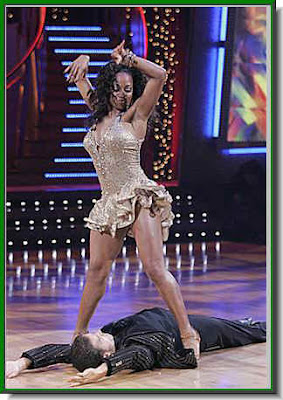 Step 1 : I have opened this photo in Photoshop. You can open your own photo.
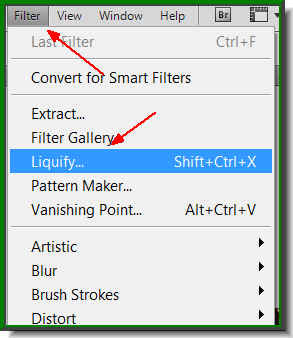 Step 2 : Go to Filter>Liquify.
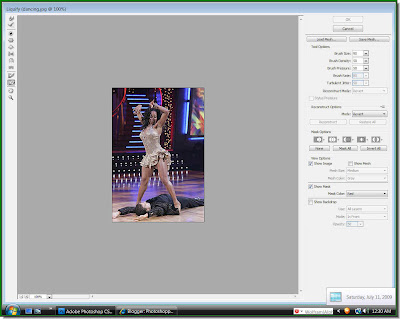 Step 3 : The Liquify dialogue box opens.
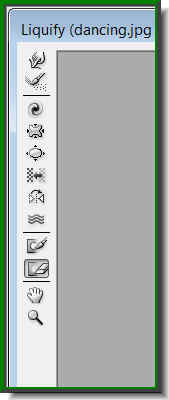 Step 4 : At the left you will find different Controls. Let me explain them.
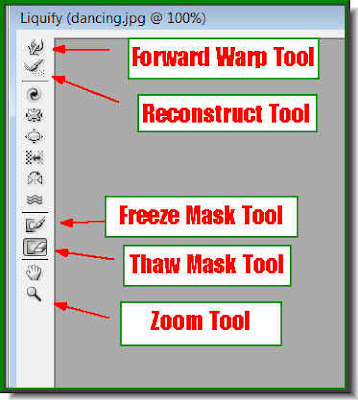 Step 5 : I have named some of the tools here. You can hover your cursor over each tool and the name of the tool will pop up.
 Step 6 : These are the other Tools.
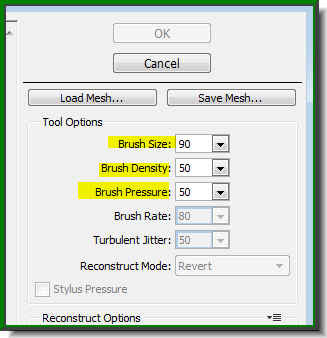 Step 7 : On the right top you will find these controls. Set the Brush Size, Brush Density and Brush Pressure at 50 each. Now you are set.
 Step 8 : Use the Zoom Tool shown above to zoom into the image.
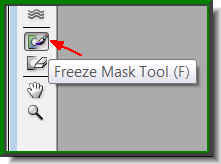 Step 9 : Click on the Freeze Mask Tool. This tool is to 'freeze' pixels you do not want to affect while you use the Liquify Filter.
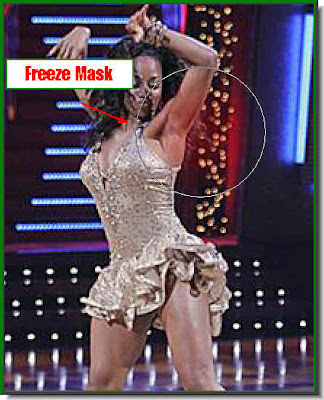 Step 10 : I have clicked with the Freeze Mask Tool. It works just like the Brush Tool. To increase the size of the tip press the ] (right brackey key) and to decrease the tip use the [ (left bracket key).
 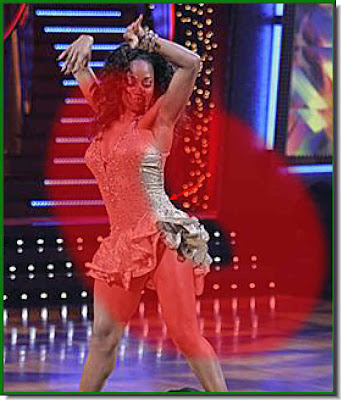 Step 11 : I have used the Freeze mask to mask off the areas I do not want to Liquify.
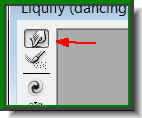 Step 12 : Click on the Forward Warp Tool and let's get ready for some fun.
 Step 13 : With the Forward Warp Tool nudge gently at the waist. You will find that it tucks in.
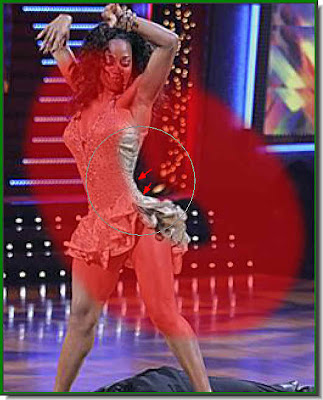 Step 14 : As you nudge the waist shrinks and appears to become thinner or slimmer!
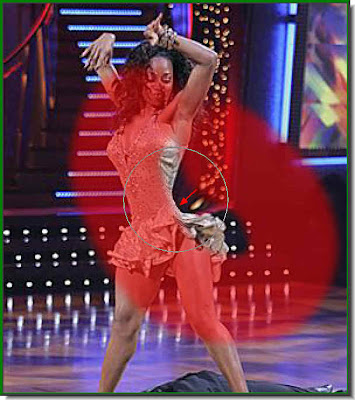 Step 15 : I have tucked it in even more. Now let's not overdo it!
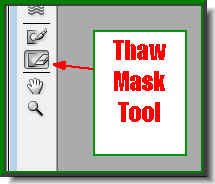 Step 16 : Click on the Thaw Mask Tool.
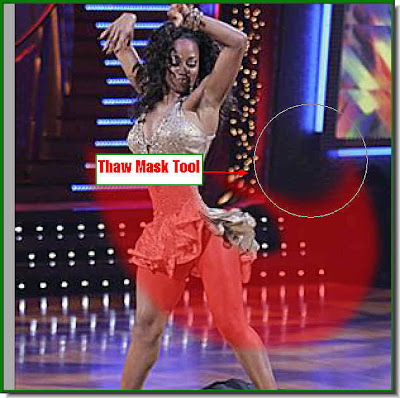 Step 17 : With the Thaw Mask Tool, wipe away the Freeze Mask.
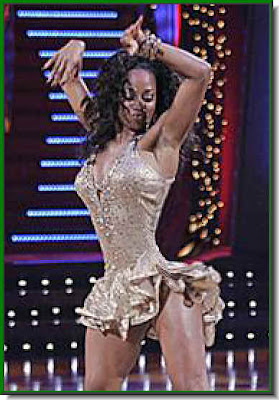 The Freeze Mask has been wiped away. Look at the dancer's waist. She must be extremely proud of it.
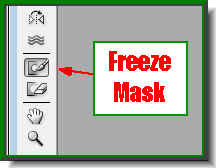 Step 18 : Again click on the Freeze Mask Tool.
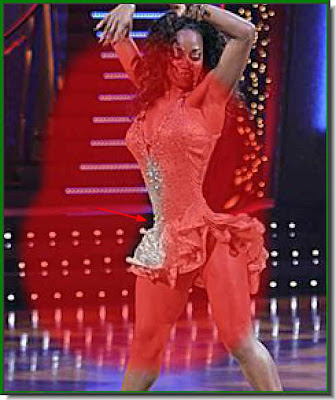 Step 19 : Again Mask the areas with the Freeze mask that you do not want to be affected.
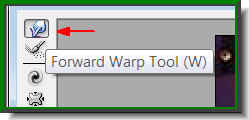 Step 20 : Choose the Forward Warp Tool.
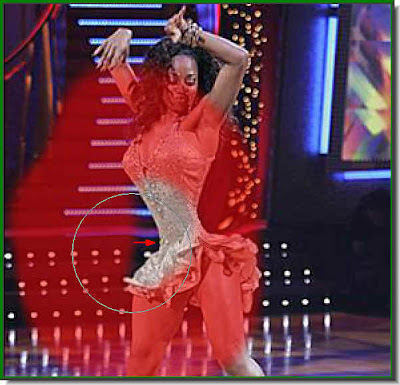 Step 21 : Now tuck in the waist by gently brushing inwards.
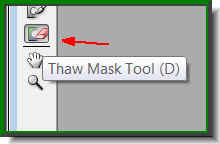 Step 22 : Again use the Thaw Mask Tool.
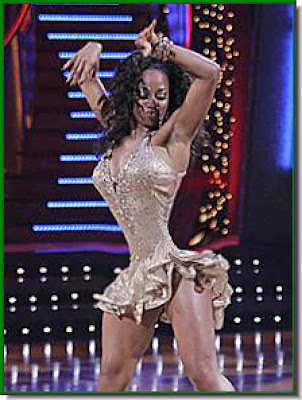
Wipe away the Freeze Mask. Look at her waist now. Isn't it marvellous! That's how you you use the Liquify Filter. Use this method to work in little bits in the image for your cosmetic surgery.

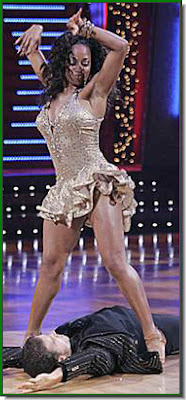
And this is my finished image.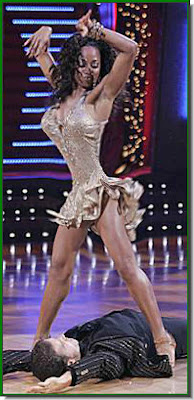
I haved touched up her hips, thighs and the bust line. Compare it to the image I began with below.
That's all.
Other Photoshop tutorials are here.
Post a Comment