
Sometimes a photo that you capture does not have a great background, while the subject is to your liking. You can blur out the background and focus on the image. It's quite easy to do in any version of Photoshop. You can use any photo to try this tutorial. And, you can do it in a snap.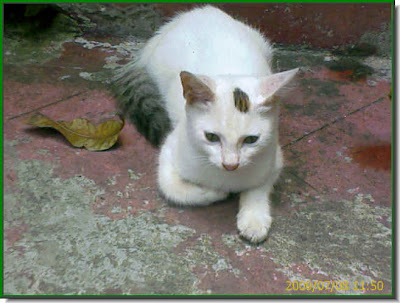 Step 1 : Open your photo in Photoshop. I took this picture of a kitten with my mobile phone came. The kitten I like, but not the background. I do not want to cut out the kitten and place it on a separate background either.
 Step 2 : Press Control+J. This will duplicate the Background layer. A new layer 1 forms in the Layers pallette.
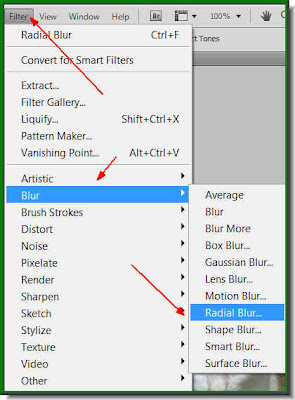 Step 3 : Go to Filter>Blur>Radial Blur.
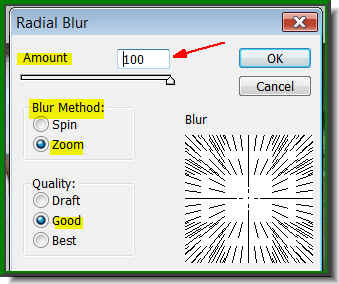 Step 4 : The Radial Blur dialogue box open. Set the Amount to 100, The Blur Method to Zoom and Good for the Quality. Click ok.
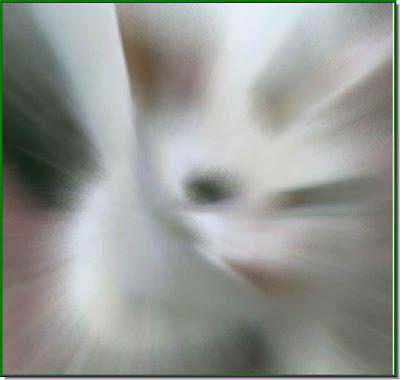
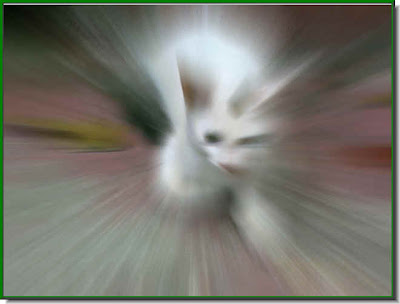 This is the effect I have got.
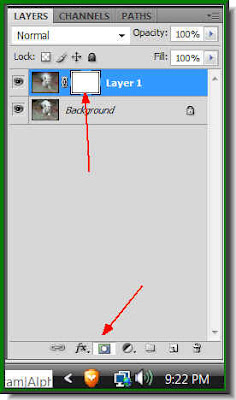 Step 5 : Click on the Add Layer Mask button and a Layer Mask forms next to the layer thumbnail on Layer1.
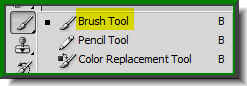 Step 6 : Click on the Brush Tool.
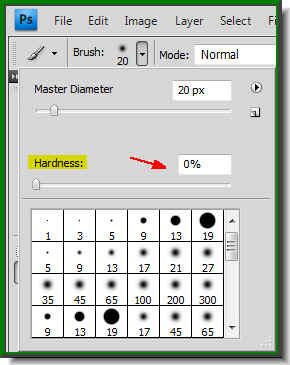 Step 7 : Click in the top panel to reveal the Brushes. Set the Hardness to zero. The size can be anything. You can increase the size of the Brush by pressing the ] (Right bracket next to the letter P). To decrease the Brush tip press the [ (left bracket) a number of times.
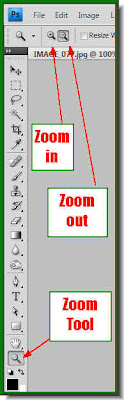 Step 8 : Before clicking on the Brush Tool you must first zoom into the image.
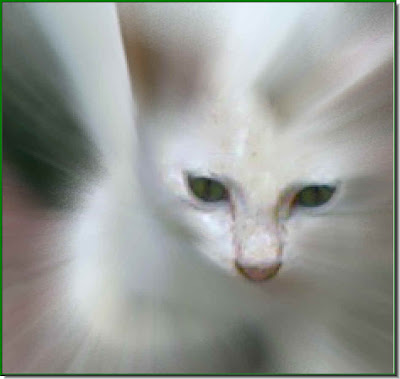
 Step 9 : I have zoomed onto the kitten.
 Step 10 : Make sure that the Foreground Color is set to Black and Background to White.
 Step 11 : With the Brush Tool gently begin painting away the mask, it reveals the image below.
 Step 12 : Take your time and paint away revealing the image below bit by bit.
 Step 13 : Should you accidentally reveal a bit of background layer that should stay hidden, change the Foreground to white and Background to black. Repaint the portion. It will cover up your mistake. Then change the Foreground to black and Background to white while carrying on painting.
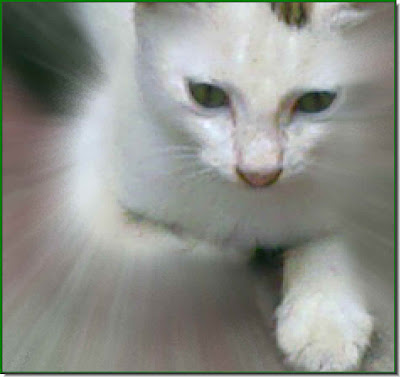
 Step 14 : The painting has been finished.
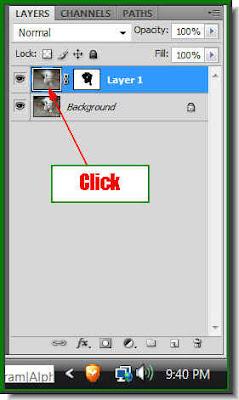
Step 1 : Open your photo in Photoshop. I took this picture of a kitten with my mobile phone came. The kitten I like, but not the background. I do not want to cut out the kitten and place it on a separate background either.Step 2 : Press Control+J. This will duplicate the Background layer. A new layer 1 forms in the Layers pallette.Step 3 : Go to Filter>Blur>Radial Blur.Step 4 : The Radial Blur dialogue box open. Set the Amount to 100, The Blur Method to Zoom and Good for the Quality. Click ok.This is the effect I have got.Step 5 : Click on the Add Layer Mask button and a Layer Mask forms next to the layer thumbnail on Layer1.Step 6 : Click on the Brush Tool.Step 7 : Click in the top panel to reveal the Brushes. Set the Hardness to zero. The size can be anything. You can increase the size of the Brush by pressing the ] (Right bracket next to the letter P). To decrease the Brush tip press the [ (left bracket) a number of times.Step 8 : Before clicking on the Brush Tool you must first zoom into the image.Step 9 : I have zoomed onto the kitten.Step 10 : Make sure that the Foreground Color is set to Black and Background to White.Step 11 : With the Brush Tool gently begin painting away the mask, it reveals the image below.Step 12 : Take your time and paint away revealing the image below bit by bit.Step 13 : Should you accidentally reveal a bit of background layer that should stay hidden, change the Foreground to white and Background to black. Repaint the portion. It will cover up your mistake. Then change the Foreground to black and Background to white while carrying on painting.Step 14 : The painting has been finished.Step 15 : Remember you were painting on the mask and not the image. In Layer1 click on the layer thumbnail. A small border immediately is visible around the thumbnail. It means that it is now selected.
Step 16 : Press CTRL+U. It will bring up the Hue/Saturation dialogue box. Check the Colorize.
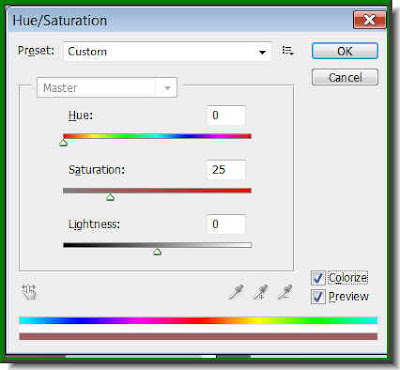
Step 17 : This is how my photo looks with the default setting. The image you are using will also have the same Hue.
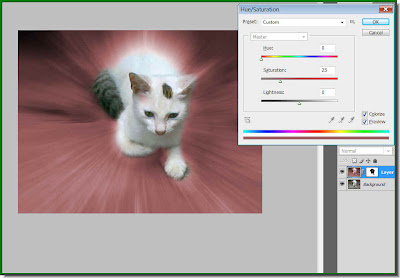
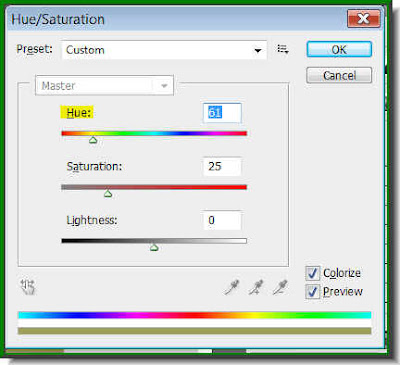 Step 18 : First drag the Hue slider to the left or right. As you drag the slider the color will keep changing. Stop when you are satisfied.
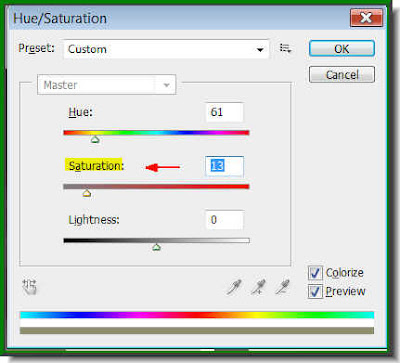 Step 19 : Now for Saturation. If you drag the slider to the left the shade will darken and lighten if pulled towards the right. I have have dragged the Saturation towards the left.
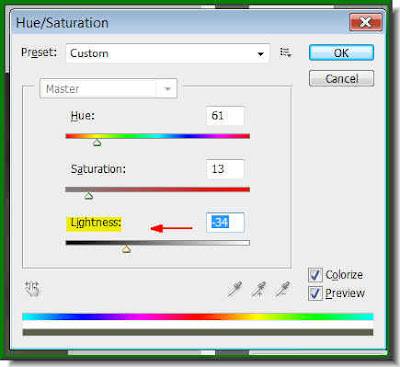 Step 20 : Lastly I have dragged the Lightness slider towards the left. This also darkens the color. Pulling it towards the right lightens it. Click ok when you have finished the adjustments.
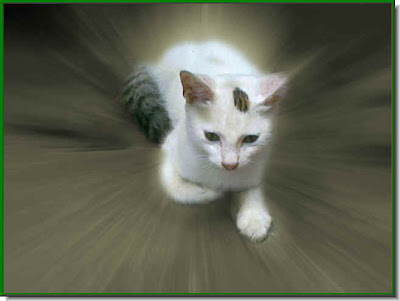
This is how my image looks.

Step 21 : Press CTRL+L. This will bring up the Levels dialogue box. I have dragged the middle slider (Highlights) towards the right to darken the color. The Black slider is to darken and the White slider to lighten it. It will depend on your image. These adjustment does not affect the kitten in the image, because it is being applied on a layer above it. Let's see what my completed image looks like.

My completed image. How long did it take? Certainly not very much. Try it out.
Other Photoshop tutorials are here.
Post a Comment