
There are many Filters built into Photoshop, whatever version you may have. One of them is Conte Crayon. You can get some good effects with it. Let me show you how you where it is found and how to use it.

This is where you find it in Photoshop. Let me show you how to use it.

Step 1 : I have opened this free stock image in Photoshop.

Step 2 : Press Ctrl+J. Look in the Layers palette. The Background layer duplicates into Layer1.

Step 3 : Press CTRL+SHIFT+U to saturate the image.

Step 4 : Go to Filter>Sketch>Conte Crayon.

Step 5 : The Conte Crayon dialogue box opens.

Step 6 : On the top right you will find the controls. Note that you can apply a variety of Textures which are built into Photoshop. I have selected the default 'Canvas'. Click OK.

Step 7 : The Filter has been applied.
But please note that this Filter works best where the image is very prominent.
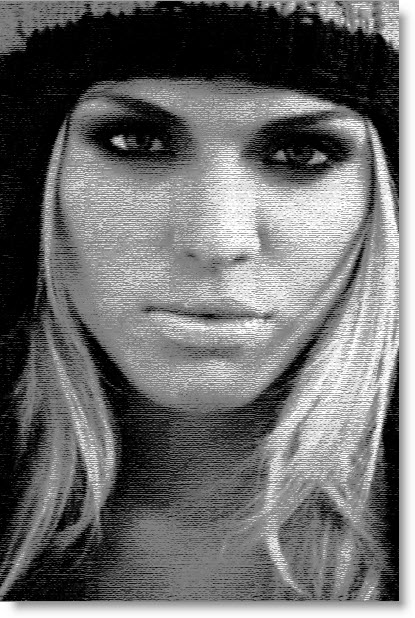
It also works well with this face.

Also with an image like this.

In an image with a Black Background or with a plain one set the Background Color to Black. Click on the Brush Tool.

Paint the white streaks.

The image looks like this after painting with Black.

The Conte Crayon Filter does not work well with images like these.

Or an image like this. You will have to apply this image only to suitable images. That is all.
Other photoshop tutorials are here.
Post a Comment