
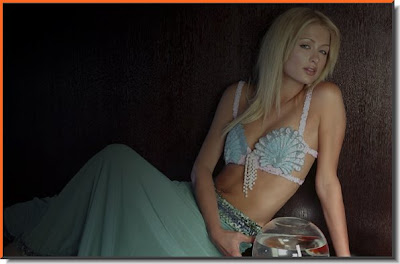
Let us suppose you gave a glamorous photo and wish to touch it up further. For this tutorial I will be using only Channels in Photoshop to do the job.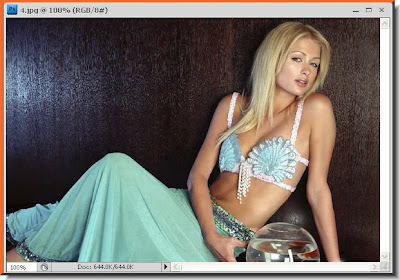 Step 1 : Open any image in Photoshop.
Step 1 : Open any image in Photoshop.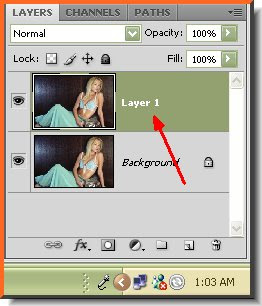 Step 2 : Press CTRL+J. This will duplicate the Background Layer and form a new Layer 1. Look in the Layers pallette and you will find it.
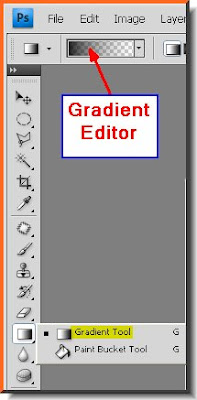 Step 3 : Click the Gradient Tool from the flyout. You will find the Gradient Editor when you click where the red arrow points at the top panel.
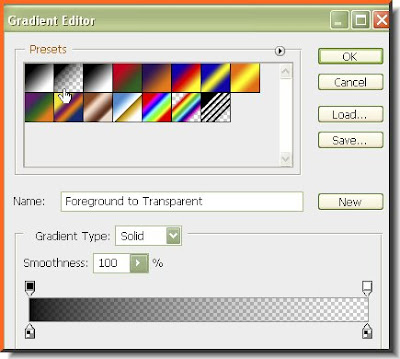 Step 4 : The Gradient Editor opens. The various Gradients are shown at the top. I have clicked on the second from the left. Make sure that 'Name' is set to Foreground to Transparent. Click ok.
Step 5 : Drag with the Gradient Tool diagonally from the left top to the right bottom.
 This is how the image looks after applying the Gradient.
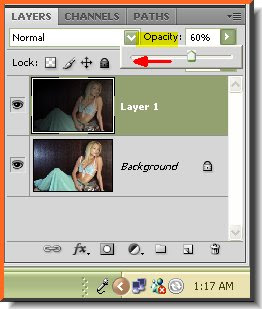 Step 6 : Now drag the Opacity slider of Layer 1 to the left and reduce the Opacity to 60%.
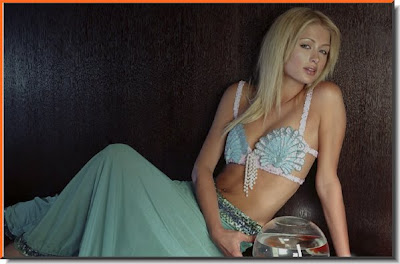 This is how the image looks.
 Step 7 : Right click Layer1 (not the thumbnail). From the popup click on Flatten Image.
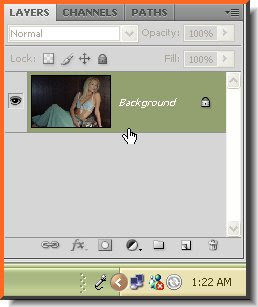 Step 8 : The Layer has been transformed into a single layer i.e. Background.
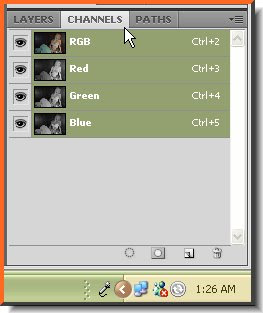 Step 9 : Click on the Channels pallette. You will find the Channels there.
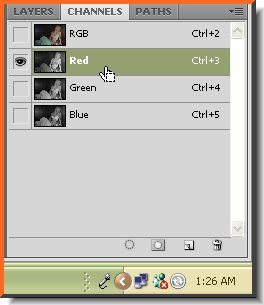 Step 10 : Click on the Red Channel.
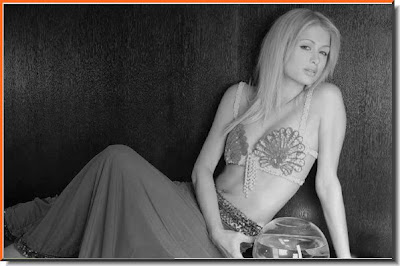 The image now looks like this. Don't bother about it.
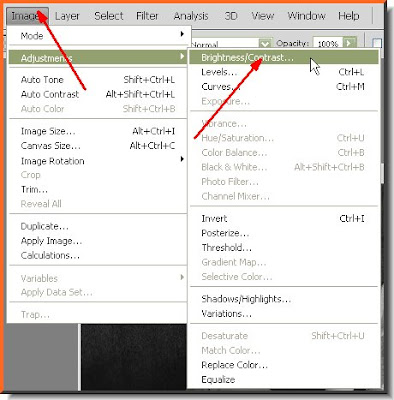 Step 11 : Go to Image>Adjustments>Brightness/Contrast.
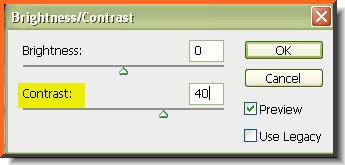 Step 12 : Increase the Contrast to 40%. You can drag the slider or just put 40 in the box. Click ok.
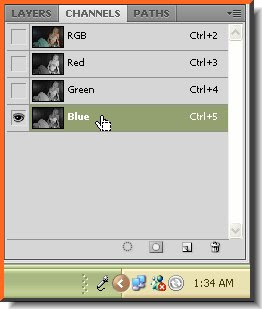 Step 13 : I have now clicked on the Blue channel. I have clicked on the Blue Channel because by image has a lot of Blue. If necessary you can use the Green channel. It will depend on your image. Feel free to experiment.
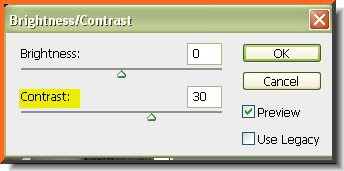 Step 14 : Go to Image>Adjustments>Brightness/Contrast. From the popup dialogue increase the Contrast to 30%. Click ok.
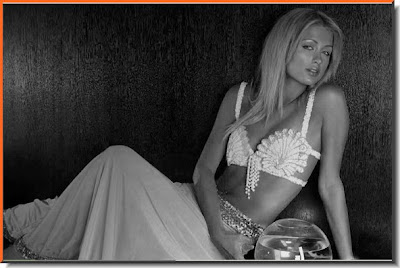 This is how my image looks now. Since you will be using a different image it will look different.
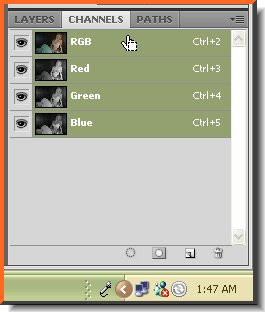 Step 15 : Now click on the RGB channel. As soon as you do, the color returns to your image.
 Step 16 : Press CTRL+U. The Hue/Saturation dialogue box opens. Increase the Saturation to 60. There is nothing hard and fast about it. You can see the change in your image as you apply the settings. See what suits your image. Click ok when you are satisfied.
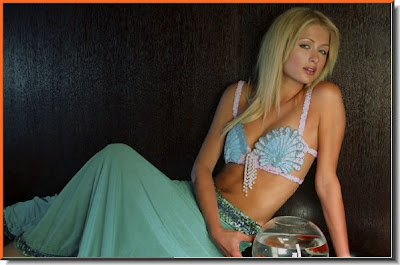 This is how the image looks.
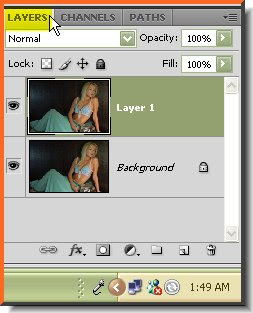 Step 17 : Click back on the Layers pallette. Press CTRL+J. This will duplicate the Background layer into Layer1.
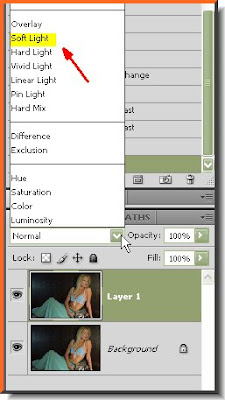 Step 18 : Now change the Blend Mode from the popup to Soft Light.
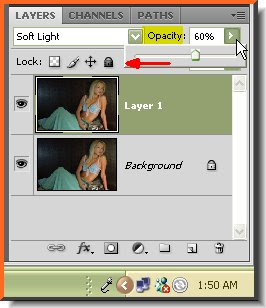
Step 19 : I have reduced the Opacity of the layer to 60%. Nothing hard and fast about it. It will depend on your image and what you like.
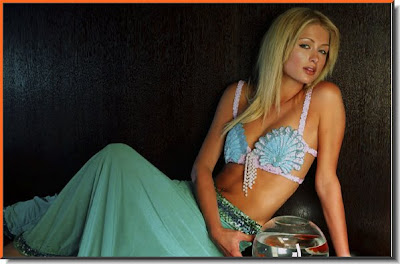
The finished image. Compare it it with the one you began with. That's all.
Post a Comment