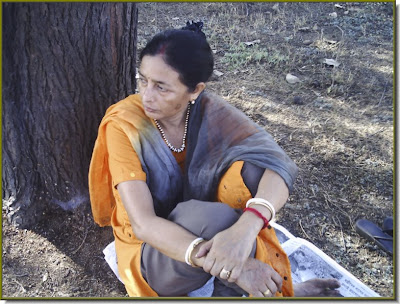
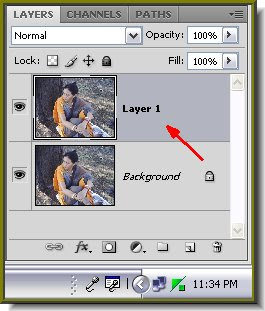
 Step 2 : Press Ctrl+J. This will duplicate the image. Look in the Layers pallette. You will find a new Layer1 above the Background layer.
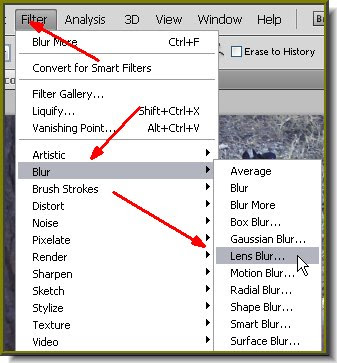 Step 3 : This step is for those using PS CS. It can be also be done in PS7. I will show it also. For CS users go to Filter>Blur>Lens Blur.
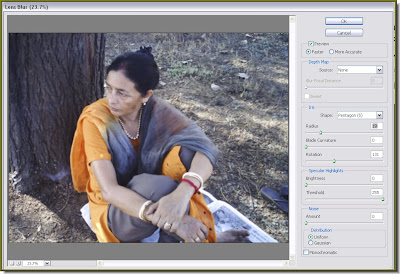 Step 4 : The Lens Blur dialogue box opens. The controls are on the right.
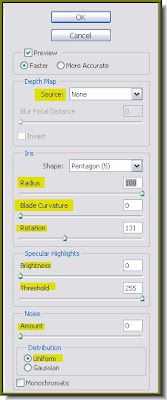 Step 5 : Give the settings as above. The Radius is the key. I have set it at 100 to give the maximum blur. If you think that a little less blur is ok for your photo, give the setting likewise. Click ok.
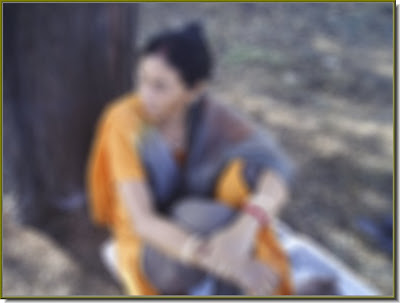
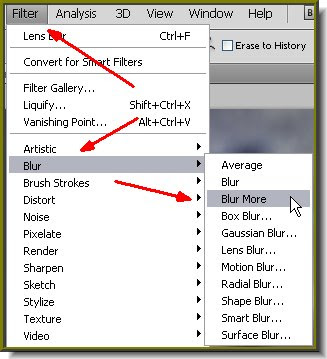 For Photoshopshop 7 users go to Filter>Blur>Gaussian Blur. Then go to Filter>Blur>Blur More. Then press CTRL+F a number of times till you have the same effect.
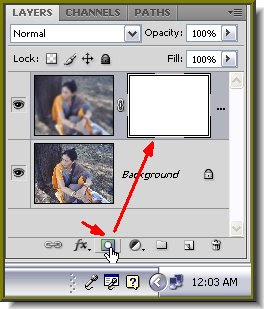 Step 6 : Click on the Add Layer Mask icon. A layer Mask forms next to the Layer thumbnail on Layer1.
Step 7 : Make sure the Foreground is set to Black and Foreground to Black. If not, press 'x' and then 'd' on the keyboard to set it to the default.
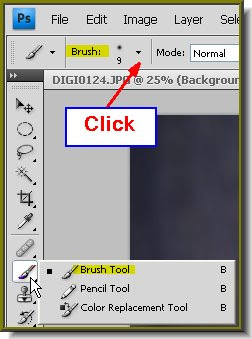
Step 8 : Click on the Brush Tool. Then click where the arrow points to.
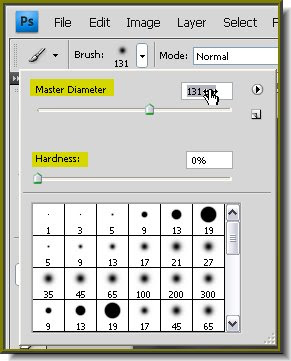
Step 9 : The Brushes dialogue box opens. Set the Hardness to zero. You can increase or decrease the Brush Tip with the Master Diameter.
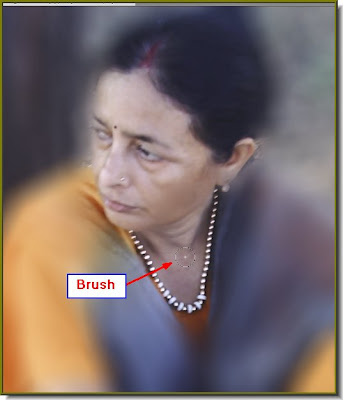
Step 10 : With the Brush Tool begin brushing away the portions you do not wish to blur. How much you want to expose is up to you.
Step 11 : Here is the image with only the face and neck brushed away.
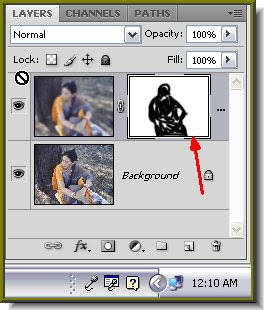
Look at the Layer Mask. The black portions are the parts that you have wiped away.
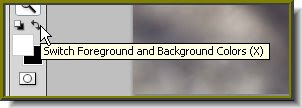
Should you accidentally brush away a part that you wish to keep blurred, change the Foreground color to White by clicking the small bent arrow or press 'x' on the keyboard. paint the portion again.
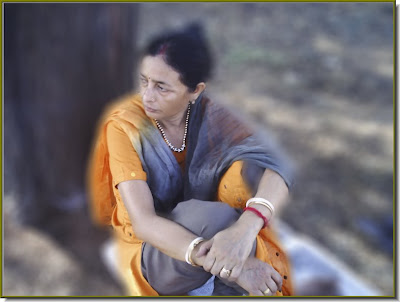
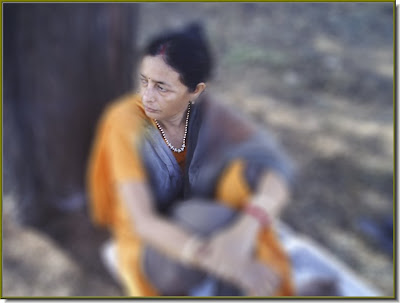
My finished image. I have kept the background blurred, while brushing away the figure to put it more into focus. That is all. Try it out.
For another way of focussing see this tutorial also.

Post a Comment