
This is a tutorial on shattering an image in any version of Photoshop. First we need an image.
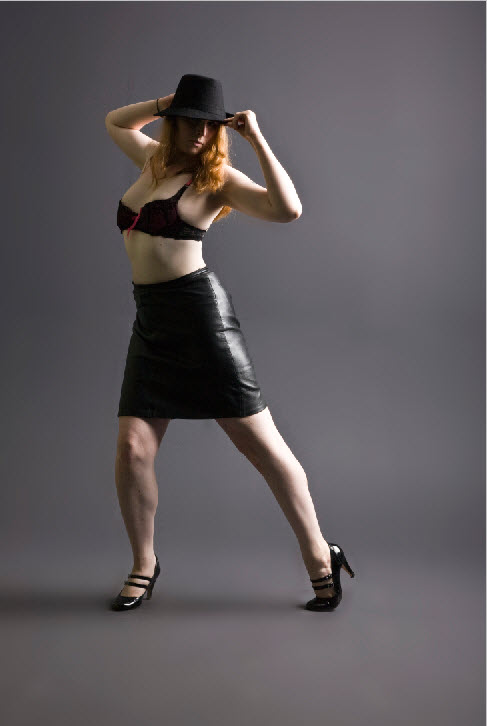
Step 1 : I have opened this image in photoshop. You will find it here
It belongs to =Tigg-stock


Step 2 : Either use the Magnetic Lasso or the Pen Tool to cut out the image from its background.

Step 3 : The Image has been cut out from the background. I have used the Pen Tool.

Step 3 : Click the Elliptical Marquee Tool.

Step 4 : Zoom into the image. Draw a small eclipse with the Marquee Tool.

Step 5 : Press CTRL, place the cursor in the middle f the selection and drag out.

Step 6 : Draw with the Marquee, press CTRL and keeping dragging out.

Step 7 : Just keep doing it.

Just keep doing it. It will take some time.

Step 8 : I have shattered the image from all sides.

Step 9 : Press CTRL+J. Layer 1 duplicates into Layer 2. Note I have kept the eye icon of the Background Layer switched off.

Step 10 : Click back on Layer 1. Press CTRL+SHIFT+U to desaturate. You will not notice anything as the desaturated layer is hidden under Layer2.

Step 11 : Go to Filter>Distort>Polar Coordinates.

Step 12 : The Polar Coordinates dialogue box opens. By default Rectangular to Polar is checked. Click OK.

This is how the image looks.

Step 13 : Press CTRL+J. Layer 1 copy forms.

Step 14 : Click back on Layer1.

Step 15 : Go to Edit>Transform>Flip Vertical.

Step 16 : Click the Move Tool.

Step 17 : Press SHIFT and drag up.

Step 18 : Click on Layer2.

Step 19 : Press CTRL+U. The Hue/Saturation dialogue box comes up. Check Colorize. This is the default position.

Step 20 : This is how the image looks.

Step 21 : These are the settings I have given for Hue, Saturation and Lightness. Click OK.

Step 22 : Click on Layer1.

Step 23 : Press CTRL and click on the New Layer icon. A new Layer 3 forms below Layer1.

Step 24 : Click the Eyedropper Tool.

Step 25 : Click with the Eyedropper on the blue on the body.

The Foregroumd Color changes to the color picked.

Step 26 : Press ALT+BACKSPACE. This will fill with the Foreground Color, which in this case is the Blue shade picked.

This is how the image looks.

Step 27 : Go to Filter>Render>Lighting Effects.

Step 28 : The Lighting Effects dialogue box comes up. Change the angle of the light at left by dragging around.

This is my finished image.
Other photoshop tutorials are here
Post a Comment