
You may have noticed those washed out look images and wondered how to do them in photoshop. It does not take a great deal of expertise. Just follow along.

Step 1 : I have opened this image in Photoshop. This is a free stock photo. You will find it here
It belongs to dzlr123
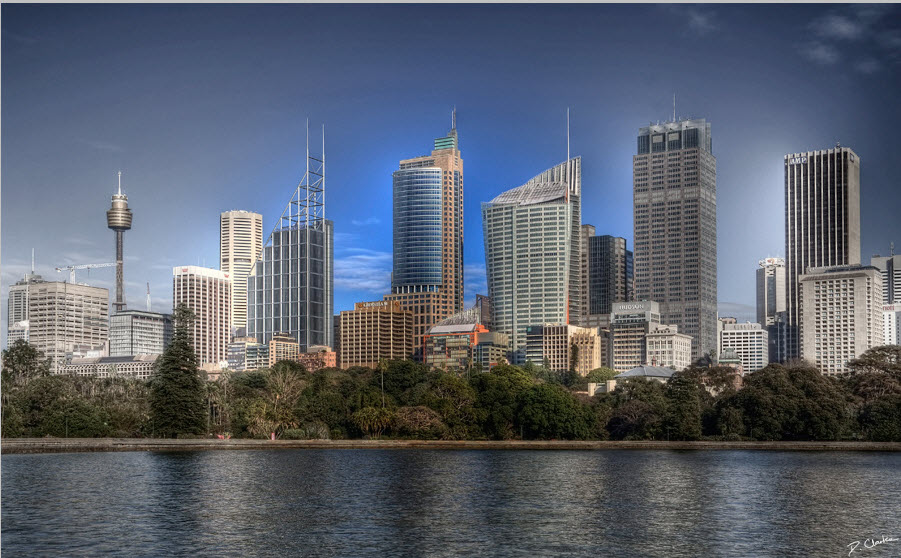
This is the effect I will achieve. The central portion retains the original color. The color in the rest of the image has been deliberately given a faded look. This process will work on any kind of image.
This is the effect I will achieve. The central portion retains the original color. The color in the rest of the image has been deliberately given a faded look. This process will work on any kind of image.
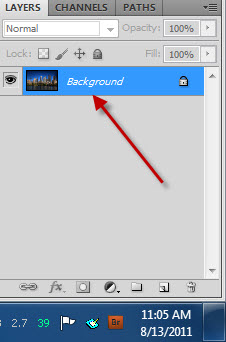
There is only the Background Layer in the Layers palette.

Step 2 : Press CTRL+J twice. The Background Layer triplicates into Layer 1 and Layer 1 copy.

Step 3 : Layer 1 copy is the topmotst layer. Press CTRL+SHIFT+U to desaturate it.

Step 4 : Change the Blend Mode of Layer 1 copy to Screen.

The image looks like this. It is much lighter.

Step 5 : Click on Layer 1.

Step 6 : Click the New Layer icon and a new Layer 2 forms above Layer1.

Step 7 : Make sure that the Foreground/Background Colors are set to Black/White. If it is not press x and d on the keyboard to restore the default.

Step 8 : Press ALT+BACKSPACE to fill with the Foreground Color which is Black. The new layer 2 fills with Black.

The image looks like this.

Step 9 : Change the Blend Mode of Layer 2 to Saturation.

The image looks like this.

Step 10 : Click on Layer 1 copy and reduce the Opacity to 80% by dragging the slider to the left.

Step 11 : Click on Layer 2 and reduce the Opacity to 60%.

The image looks like this.

Step 12 : Click on the fx button.

Step 13 : Click on Blending Options from the pop up menu.

Step 14 : In the Blend If portion of the Blending Options you will find a black slider at left and a white slider at the right at the very bottom. Press ALT and click the black slider. It separates into two. Drag the right portion of the slider till the value is 80 as shown.

Step 15 : ALT+Click the the white slider above. Drag the left portion of the slider till the value reads 250. Click OK in Blending Options.

Step 16 : SHIFT+CLICK on Layer 1 copy. Both Layer 2 and Layer 1 copy are highlighted.

Step 17 : Press CTRL+G. The two Layers are grouped into Group 1 layer.


Other photoshop tutorials are here
Post a Comment